


Our Offices
Unit H Furtho Manor Farm
Northampton Road
Milton Keynes
Buckinghamshire MK19 6NR
Other Links
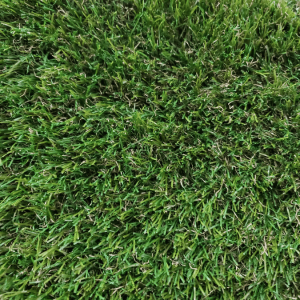
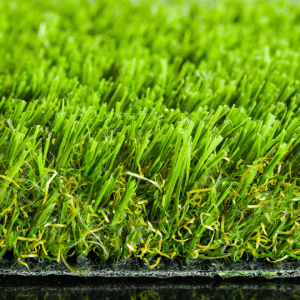
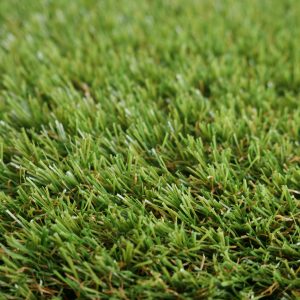
Here at The Modern Lawn Company are proud to be offering premium quality artificial grass to both trade and domestic clients across the UK. We offer free delivery on orders over £150 to all nationwide locations, and aim to deliver within just 48 Hours!
The Modern Lawn Company © 2024